[{"name":"Everest Base Camp Trek","duration":14,"image_url":"https:\/\/www.placesnepal.com\/storage\/trip-galleries\/1\/thumb_07fa6c7288d2e823c070e64af8635cd3.webp","offer_price":1260,"url":"https:\/\/www.placesnepal.com\/trip\/everest-base-camp-trek"},{"name":"Manaslu Circuit Trek","duration":12,"image_url":"https:\/\/www.placesnepal.com\/storage\/trip-galleries\/3\/thumb_af31aa9dc6756ba9a9cee02d114eda17.webp","offer_price":980,"url":"https:\/\/www.placesnepal.com\/trip\/manaslu-circuit-trek"},{"name":"Annapurna Circuit Trek","duration":10,"image_url":"https:\/\/www.placesnepal.com\/storage\/trip-galleries\/4\/thumb_a5f24d1188e8d45fed7e7fcbe32b854f.webp","offer_price":820,"url":"https:\/\/www.placesnepal.com\/trip\/annapurna-circuit-trek"},{"name":"Gokyo Lake Trek","duration":10,"image_url":"https:\/\/www.placesnepal.com\/storage\/trip-galleries\/5\/thumb_c0517ff96a95dc1183e5facfcbd7705c.webp","offer_price":1150,"url":"https:\/\/www.placesnepal.com\/trip\/gokyo-lake-trek"},{"name":"Annapurna Base Camp Trek","duration":10,"image_url":"https:\/\/www.placesnepal.com\/storage\/trip-galleries\/6\/thumb_4a1a9da373c04d849c7afd07d675e62d.webp","offer_price":750,"url":"https:\/\/www.placesnepal.com\/trip\/annapurna-base-camp-trek"},{"name":"Short Manaslu Circuit Trek","duration":10,"image_url":"https:\/\/www.placesnepal.com\/storage\/trip-galleries\/7\/thumb_2a266d03099c6e71e4787f28e3a8d06e.webp","offer_price":750,"url":"https:\/\/www.placesnepal.com\/trip\/short-manaslu-circuit-trek"},{"name":"Langtang Valley Trek","duration":8,"image_url":"https:\/\/www.placesnepal.com\/storage\/trip-galleries\/8\/thumb_fa6aa089bd6b5f45934971d44a5ff385.webp","offer_price":590,"url":"https:\/\/www.placesnepal.com\/trip\/langtang-valley-trek"},{"name":"Upper Mustang Trek","duration":14,"image_url":"https:\/\/www.placesnepal.com\/storage\/trip-galleries\/9\/thumb_d9cf7722e6cd6c4f55993cadc16b00b1.webp","offer_price":1800,"url":"https:\/\/www.placesnepal.com\/trip\/upper-mustang-trek"},{"name":"Explore Kathmandu, Experience Nepal: 4N-5D Tour","duration":5,"image_url":"https:\/\/www.placesnepal.com\/storage\/trip-galleries\/10\/thumb_e8d6b9780f61c5603205a886a172929d.webp","offer_price":380,"url":"https:\/\/www.placesnepal.com\/trip\/explore-kathmandu-experience-nepal-4n-5d-tour"},{"name":"Luxury Everest Base Camp Trek with Helicopter Tour","duration":8,"image_url":"https:\/\/www.placesnepal.com\/storage\/trip-galleries\/11\/thumb_ad1a67e45ba80f59e57939d1d1c476c9.webp","offer_price":8500,"url":"https:\/\/www.placesnepal.com\/trip\/luxury-everest-base-camp-trek-with-helicopter-tour"},{"name":"Everest Base Camp Heli Tour with Breakfast at Hotel Everest View","duration":1,"image_url":"https:\/\/www.placesnepal.com\/storage\/trip-galleries\/18\/thumb_e47db26f4b8529a68d3889928f004a84.webp","offer_price":null,"url":"https:\/\/www.placesnepal.com\/trip\/everest-base-camp-heli-tour-with-breakfast-at-hotel-everest-view"},{"name":"Everest Base Camp and Gokyo Lakes Photography Expedition","duration":18,"image_url":"https:\/\/www.placesnepal.com\/storage\/trip-galleries\/19\/thumb_6ad52efeb27cd4989124b54209259416.webp","offer_price":2700,"url":"https:\/\/www.placesnepal.com\/trip\/everest-base-camp-and-gokyo-lakes-photography-expedition"},{"name":"Gokyo Lakes with Everest Base Camp Trek","duration":15,"image_url":"https:\/\/www.placesnepal.com\/storage\/trip-galleries\/20\/thumb_d7adbaaedcd860ce55f79c912dd368f4.webp","offer_price":1350,"url":"https:\/\/www.placesnepal.com\/trip\/gokyo-lakes-with-everest-base-camp-trek"},{"name":"Everest View Panorama Trek","duration":9,"image_url":"https:\/\/www.placesnepal.com\/storage\/trip-galleries\/21\/thumb_a84149f9c550b9f473c90d510995a0d3.webp","offer_price":1070,"url":"https:\/\/www.placesnepal.com\/trip\/everest-view-panorama-trek"},{"name":"Everest Base Camp Trek Helicopter Return","duration":9,"image_url":"https:\/\/www.placesnepal.com\/storage\/trip-galleries\/22\/thumb_1604f403067e1d4210c326e3248367ae.webp","offer_price":1990,"url":"https:\/\/www.placesnepal.com\/trip\/everest-base-camp-trek-helicopter-return"},{"name":"Mardi Himal Trek","duration":5,"image_url":"https:\/\/www.placesnepal.com\/storage\/trip-galleries\/23\/thumb_e1cc1ce59643e2b66f0cc5ea2ece8543.webp","offer_price":360,"url":"https:\/\/www.placesnepal.com\/trip\/mardi-himal-trek"},{"name":"Ghorepani Poon Hill Yoga Trek","duration":9,"image_url":"https:\/\/www.placesnepal.com\/storage\/trip-galleries\/25\/thumb_a21e5b150948017bd996a57f4e586be9.webp","offer_price":1750,"url":"https:\/\/www.placesnepal.com\/trip\/ghorepani-poon-hill-yoga-trek"},{"name":"Ghorepani Poon Hill Trek 6 days","duration":6,"image_url":"https:\/\/www.placesnepal.com\/storage\/trip-galleries\/26\/thumb_29a7702ad9f63eca8846c19c07ca35e2.webp","offer_price":550,"url":"https:\/\/www.placesnepal.com\/trip\/ghorepani-poon-hill-trek-6-days"},{"name":"Luxury Pokhara Poon Hill Wellness Trek","duration":13,"image_url":"https:\/\/www.placesnepal.com\/storage\/trip-galleries\/27\/thumb_87e5c2077530a1cce3e635548cb2f069.webp","offer_price":2200,"url":"https:\/\/www.placesnepal.com\/trip\/luxury-pokhara-poon-hill-wellness-trek"},{"name":"Ponker Lake Trek","duration":6,"image_url":"https:\/\/www.placesnepal.com\/storage\/trip-galleries\/28\/thumb_fd7ca4cd48a8c768706c66f0a797159a.webp","offer_price":650,"url":"https:\/\/www.placesnepal.com\/trip\/ponker-lake-trek"},{"name":"Kathmandu City Tour","duration":1,"image_url":"https:\/\/www.placesnepal.com\/storage\/trip-galleries\/32\/thumb_72e42fabe459489d9f4cfae283240b8e.webp","offer_price":80,"url":"https:\/\/www.placesnepal.com\/trip\/kathmandu-city-tour"},{"name":"Seven UNESCO World Heritage of Kathmandu Valley","duration":1,"image_url":"https:\/\/www.placesnepal.com\/storage\/trip-galleries\/33\/thumb_128ebc2340ec859f39bebc75d091f76a.webp","offer_price":100,"url":"https:\/\/www.placesnepal.com\/trip\/seven-unesco-world-heritage-of-kathmandu-valley"},{"name":"Kanchenjunga Circuit Trek","duration":17,"image_url":"https:\/\/www.placesnepal.com\/storage\/trip-galleries\/34\/thumb_b4eb3ef76af97af27db134d6f37cdf76.webp","offer_price":null,"url":"https:\/\/www.placesnepal.com\/trip\/kanchenjunga-circuit-trek"},{"name":"Shey Phoksundo Lake Trek","duration":11,"image_url":"https:\/\/www.placesnepal.com\/storage\/trip-galleries\/35\/thumb_10ed49f64ee4c8eab489dd0ce9db1d5a.webp","offer_price":null,"url":"https:\/\/www.placesnepal.com\/trip\/shey-phoksundo-lake-trek"},{"name":"Upper Mustang Jeep Tour","duration":10,"image_url":"https:\/\/www.placesnepal.com\/storage\/trip-galleries\/36\/thumb_9786c41ce11e9a2de34ae98b4060376a.webp","offer_price":2800,"url":"https:\/\/www.placesnepal.com\/trip\/upper-mustang-jeep-tour"},{"name":"Tsum Valley with Ganesh Himal Base Camp Trek","duration":15,"image_url":"https:\/\/www.placesnepal.com\/storage\/trip-galleries\/37\/thumb_5e62af344847e16dea9a3846f21cba3c.webp","offer_price":1250,"url":"https:\/\/www.placesnepal.com\/trip\/tsum-valley-with-ganesh-himal-base-camp-trek"},{"name":"Nar Phu Valley Trek","duration":13,"image_url":"https:\/\/www.placesnepal.com\/storage\/trip-galleries\/40\/thumb_690b852b598dc6d8abbad7b578a948c1.webp","offer_price":995,"url":"https:\/\/www.placesnepal.com\/trip\/nar-phu-valley-trek"},{"name":"Island Peak Climbing","duration":16,"image_url":"https:\/\/www.placesnepal.com\/storage\/trip-galleries\/41\/thumb_0e2be3132cd077c5810cc3772117a6a1.webp","offer_price":3000,"url":"https:\/\/www.placesnepal.com\/trip\/island-peak-climbing"},{"name":"Mera Peak Climbing","duration":17,"image_url":"https:\/\/www.placesnepal.com\/storage\/trip-galleries\/42\/thumb_ffbdf4cb7553618e0c299347bb94a1a3.webp","offer_price":3000,"url":"https:\/\/www.placesnepal.com\/trip\/mera-peak-climbing"},{"name":"Tilicho Lake Trek","duration":7,"image_url":"https:\/\/www.placesnepal.com\/storage\/trip-galleries\/44\/thumb_00829c52fc1a0ac8235e9d6480422529.webp","offer_price":750,"url":"https:\/\/www.placesnepal.com\/trip\/tilicho-lake-trek"},{"name":"Khopra Danda Trek","duration":11,"image_url":"https:\/\/www.placesnepal.com\/storage\/trip-galleries\/45\/thumb_f78644c6e0d26160ab8f442fa8142ee2.webp","offer_price":850,"url":"https:\/\/www.placesnepal.com\/trip\/khopra-danda-trek"},{"name":"Short Annapurna Base Camp Trek","duration":6,"image_url":"https:\/\/www.placesnepal.com\/storage\/trip-galleries\/46\/thumb_918e01ea6dd5f42cef723d1eff863533.webp","offer_price":490,"url":"https:\/\/www.placesnepal.com\/trip\/short-annapurna-base-camp-trek"},{"name":"Tsum Valley with Manaslu Circuit Trek","duration":17,"image_url":"https:\/\/www.placesnepal.com\/storage\/trip-galleries\/47\/thumb_0346f90b1beb24c9da3d3da427dc1036.webp","offer_price":null,"url":"https:\/\/www.placesnepal.com\/trip\/tsum-valley-with-manaslu-circuit-trek"},{"name":"Tsum Valley Trek","duration":13,"image_url":"https:\/\/www.placesnepal.com\/storage\/trip-galleries\/48\/thumb_4ca9032472c317e78d94821b9c406b1b.webp","offer_price":1150,"url":"https:\/\/www.placesnepal.com\/trip\/tsum-valley-trek"},{"name":"Renjo La Pass Trek with Gokyo Lake","duration":15,"image_url":"https:\/\/www.placesnepal.com\/storage\/trip-galleries\/49\/thumb_d710a9d6bac1ec8f1066abe564dddf4f.webp","offer_price":1550,"url":"https:\/\/www.placesnepal.com\/trip\/renjo-la-pass-trek-with-gokyo-lake"},{"name":"Pikey Peak Trek","duration":6,"image_url":"https:\/\/www.placesnepal.com\/storage\/trip-galleries\/50\/thumb_f5b672d5e0590443a95dee71b86f88a0.webp","offer_price":490,"url":"https:\/\/www.placesnepal.com\/trip\/pikey-peak-trek"},{"name":"Everest Base Camp Trek by Road","duration":15,"image_url":"https:\/\/www.placesnepal.com\/storage\/trip-galleries\/51\/thumb_7fb1c8c615fd6386948e7be8af2950b0.webp","offer_price":1350,"url":"https:\/\/www.placesnepal.com\/trip\/everest-base-camp-trek-by-road"},{"name":"Short Everest Base Camp Trek","duration":12,"image_url":"https:\/\/www.placesnepal.com\/storage\/trip-galleries\/53\/thumb_f670cd96e9bad10d1e08d287becaefa6.webp","offer_price":950,"url":"https:\/\/www.placesnepal.com\/trip\/short-everest-base-camp-trek"},{"name":"Everest Three Passes Trek","duration":17,"image_url":"https:\/\/www.placesnepal.com\/storage\/trip-galleries\/54\/thumb_6966bb3e99cdfc8a3e8454103aa92bdf.webp","offer_price":1650,"url":"https:\/\/www.placesnepal.com\/trip\/everest-three-passes-trek"},{"name":"Makalu Base Camp Trek","duration":18,"image_url":"https:\/\/www.placesnepal.com\/storage\/trip-galleries\/55\/thumb_aee15fe18511ff233e2dec5413358299.webp","offer_price":null,"url":"https:\/\/www.placesnepal.com\/trip\/makalu-base-camp-trek"},{"name":"Short Annapurna Base Camp Trek: 5 Days","duration":5,"image_url":"https:\/\/www.placesnepal.com\/storage\/trip-galleries\/56\/thumb_7c99271c327b5e3cb21fb6cbcb0c01aa.webp","offer_price":520,"url":"https:\/\/www.placesnepal.com\/trip\/short-annapurna-base-camp-trek-5-days"},{"name":"Pikey Peak Trek : 4 Days","duration":4,"image_url":"https:\/\/www.placesnepal.com\/storage\/trip-galleries\/57\/thumb_44b9a91d2508cf9049f79f126f23206c.webp","offer_price":null,"url":"https:\/\/www.placesnepal.com\/trip\/pikey-peak-trek-4-days"},{"name":"Kanchenjunga South Base Camp Trek","duration":9,"image_url":"https:\/\/www.placesnepal.com\/storage\/trip-galleries\/58\/thumb_39cc387cf5b432e44c57016d2cc71941.webp","offer_price":1350,"url":"https:\/\/www.placesnepal.com\/trip\/kanchenjunga-south-base-camp-trek"},{"name":"Api Himal Base Camp Trek","duration":11,"image_url":"https:\/\/www.placesnepal.com\/storage\/trip-galleries\/59\/thumb_d35ecbc8c01fcd60cf5b40244ef86aeb.webp","offer_price":1800,"url":"https:\/\/www.placesnepal.com\/trip\/api-himal-base-camp-trek"},{"name":"Upper Dolpo Circuit Trek","duration":24,"image_url":"https:\/\/www.placesnepal.com\/storage\/trip-galleries\/60\/thumb_decd04554bbcec568ae040a1e29ef1e7.webp","offer_price":4400,"url":"https:\/\/www.placesnepal.com\/trip\/upper-dolpo-circuit-trek"},{"name":"Annapurna North Base Camp Trek","duration":12,"image_url":"https:\/\/www.placesnepal.com\/storage\/trip-galleries\/61\/thumb_3bcbcbcf5616c13ecc828a294b6b0332.webp","offer_price":1550,"url":"https:\/\/www.placesnepal.com\/trip\/annapurna-north-base-camp-trek"},{"name":"Annapurna Circuit Mountain Biking From Kathmandu","duration":17,"image_url":"https:\/\/www.placesnepal.com\/storage\/trip-galleries\/62\/thumb_4e5f2645c902e2f034560bb59322ccdb.webp","offer_price":3200,"url":"https:\/\/www.placesnepal.com\/trip\/annapurna-circuit-mountain-biking-from-kathmandu"},{"name":"Annapurna Circuit Mountain Biking","duration":12,"image_url":"https:\/\/www.placesnepal.com\/storage\/trip-galleries\/63\/thumb_5522c93b60e3a36dd177cec8c19af6ed.webp","offer_price":1850,"url":"https:\/\/www.placesnepal.com\/trip\/annapurna-circuit-mountain-biking"},{"name":"Nar Phu Valley Trek with Annapurna Circuit","duration":17,"image_url":"https:\/\/www.placesnepal.com\/storage\/trip-galleries\/64\/thumb_e60cfd7f7f8066aa9e130f09898564d2.webp","offer_price":1950,"url":"https:\/\/www.placesnepal.com\/trip\/nar-phu-valley-trek-with-annapurna-circuit"},{"name":"Short Mera Peak Climbing","duration":11,"image_url":"https:\/\/www.placesnepal.com\/storage\/trip-galleries\/65\/thumb_ee26da88b6e063a9db55f624e2be288c.webp","offer_price":2200,"url":"https:\/\/www.placesnepal.com\/trip\/short-mera-peak-climbing"},{"name":"Lobuche Peak Climbing","duration":18,"image_url":"https:\/\/www.placesnepal.com\/storage\/trip-galleries\/66\/thumb_3bc3f158ca4822c133d32c4fe834f574.webp","offer_price":3000,"url":"https:\/\/www.placesnepal.com\/trip\/lobuche-peak-climbing"},{"name":"Yala Peak Climbing","duration":12,"image_url":"https:\/\/www.placesnepal.com\/storage\/trip-galleries\/67\/thumb_bbc83a5924bc611872b39e8c50b6524c.webp","offer_price":1500,"url":"https:\/\/www.placesnepal.com\/trip\/yala-peak-climbing"},{"name":"Pikey Peak and Dudhkunda Lake Trek","duration":10,"image_url":"https:\/\/www.placesnepal.com\/storage\/trip-galleries\/68\/thumb_7a9a19f81c11889b1aea59852cfb8c7e.webp","offer_price":1250,"url":"https:\/\/www.placesnepal.com\/trip\/pikey-peak-and-dudhkunda-lake-trek"},{"name":"Langtang Gosaikunda Trek","duration":12,"image_url":"https:\/\/www.placesnepal.com\/storage\/trip-galleries\/74\/thumb_89851fac2da7b361736dce406950ef96.webp","offer_price":1250,"url":"https:\/\/www.placesnepal.com\/trip\/langtang-gosaikunda-trek"},{"name":"Island Peak & Lobuche Peak Expedition","duration":25,"image_url":"https:\/\/www.placesnepal.com\/storage\/trip-galleries\/75\/thumb_01594e82d54a3784b1edd6c7b480c578.webp","offer_price":4500,"url":"https:\/\/www.placesnepal.com\/trip\/island-peak-lobuche-peak-expedition"},{"name":"Tibet Border Manaslu Circuit Trek","duration":13,"image_url":"https:\/\/www.placesnepal.com\/storage\/trip-galleries\/77\/thumb_435c761b86cf9f322e6f0c1707e5ccff.webp","offer_price":1050,"url":"https:\/\/www.placesnepal.com\/trip\/tibet-border-manaslu-circuit-trek"},{"name":"Manaslu and Annapurna Circuit Trek","duration":20,"image_url":"https:\/\/www.placesnepal.com\/storage\/trip-galleries\/78\/thumb_0fa4d0cc5cba277dbc29980fcca2e448.webp","offer_price":1450,"url":"https:\/\/www.placesnepal.com\/trip\/manaslu-and-annapurna-circuit-trek"},{"name":"Kathmandu Pokhara Chitwan Lumbini Nepal Tour","duration":10,"image_url":"https:\/\/www.placesnepal.com\/storage\/trip-galleries\/79\/thumb_e437c4271d572bab48f6f08799abd225.webp","offer_price":1150,"url":"https:\/\/www.placesnepal.com\/trip\/kathmandu-pokhara-chitwan-lumbini-nepal-tour"},{"name":"Kori Danda Trek","duration":6,"image_url":"https:\/\/www.placesnepal.com\/storage\/trip-galleries\/80\/thumb_701798cb32801d80d9b81489345b73cc.webp","offer_price":790,"url":"https:\/\/www.placesnepal.com\/trip\/kori-danda-trek"},{"name":"Khumai Danda Trek","duration":6,"image_url":"https:\/\/www.placesnepal.com\/storage\/trip-galleries\/81\/thumb_f5b20306cc0bc74fa280bac5996645fe.webp","offer_price":null,"url":"https:\/\/www.placesnepal.com\/trip\/khumai-danda-trek"},{"name":"Chitwan Jungle Safari","duration":3,"image_url":"https:\/\/www.placesnepal.com\/storage\/trip-galleries\/82\/thumb_8023d2832e8f85e35a013d0b891169db.webp","offer_price":220,"url":"https:\/\/www.placesnepal.com\/trip\/chitwan-jungle-safari"},{"name":"Helambu Circuit Trek","duration":7,"image_url":"https:\/\/www.placesnepal.com\/storage\/trip-galleries\/83\/thumb_bdd9443ad2ce81e226c7887ef2a60921.webp","offer_price":550,"url":"https:\/\/www.placesnepal.com\/trip\/helambu-circuit-trek"},{"name":"Ruby Valley Trek","duration":6,"image_url":"https:\/\/www.placesnepal.com\/storage\/trip-galleries\/84\/thumb_6ca98f10d4af75ad70128473d8712da0.webp","offer_price":650,"url":"https:\/\/www.placesnepal.com\/trip\/ruby-valley-trek"},{"name":"Bardia Wildlife Tour","duration":4,"image_url":"https:\/\/www.placesnepal.com\/storage\/trip-galleries\/85\/thumb_b02b0573ae3dc63b9a5b5603db633f7b.webp","offer_price":1150,"url":"https:\/\/www.placesnepal.com\/trip\/bardia-wildlife-tour"},{"name":"ANNAPURNA HERITAGE YOGA TREK","duration":9,"image_url":"https:\/\/www.placesnepal.com\/storage\/trip-galleries\/86\/thumb_2209585febfe6f9df21cd21cc70f5362.webp","offer_price":1550,"url":"https:\/\/www.placesnepal.com\/trip\/annapurna-heritage-yoga-trek"},{"name":"Lapchi Valley Trek","duration":4,"image_url":"https:\/\/www.placesnepal.com\/storage\/trip-galleries\/87\/thumb_37613ff67d9725b495729908e4430b4e.webp","offer_price":350,"url":"https:\/\/www.placesnepal.com\/trip\/lapchi-valley-trek"},{"name":"Ghorepani Poon Hill and Mardi Himal Trek","duration":10,"image_url":"https:\/\/www.placesnepal.com\/storage\/trip-galleries\/88\/thumb_8ee7c370318209f371c08e0b69256c9b.webp","offer_price":750,"url":"https:\/\/www.placesnepal.com\/trip\/ghorepani-poon-hill-and-mardi-himal-trek"},{"name":"Ghorepani Poon Hill Trek","duration":4,"image_url":"https:\/\/www.placesnepal.com\/storage\/trip-galleries\/89\/thumb_44ec1c2cfd95eabe470edab2fc390327.webp","offer_price":390,"url":"https:\/\/www.placesnepal.com\/trip\/ghorepani-poon-hill-trek"}]
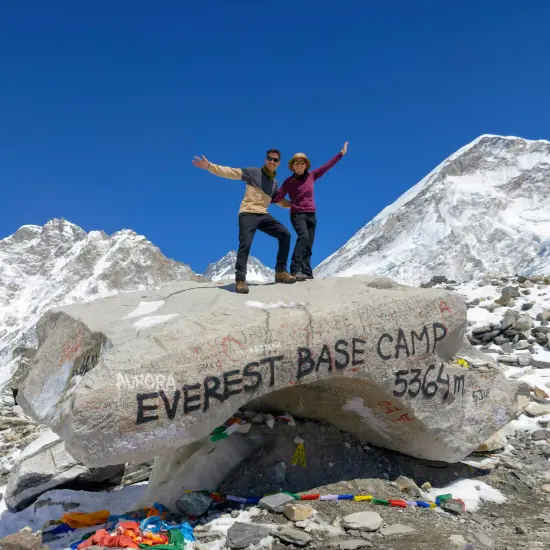
- Everest Base Camp Trek
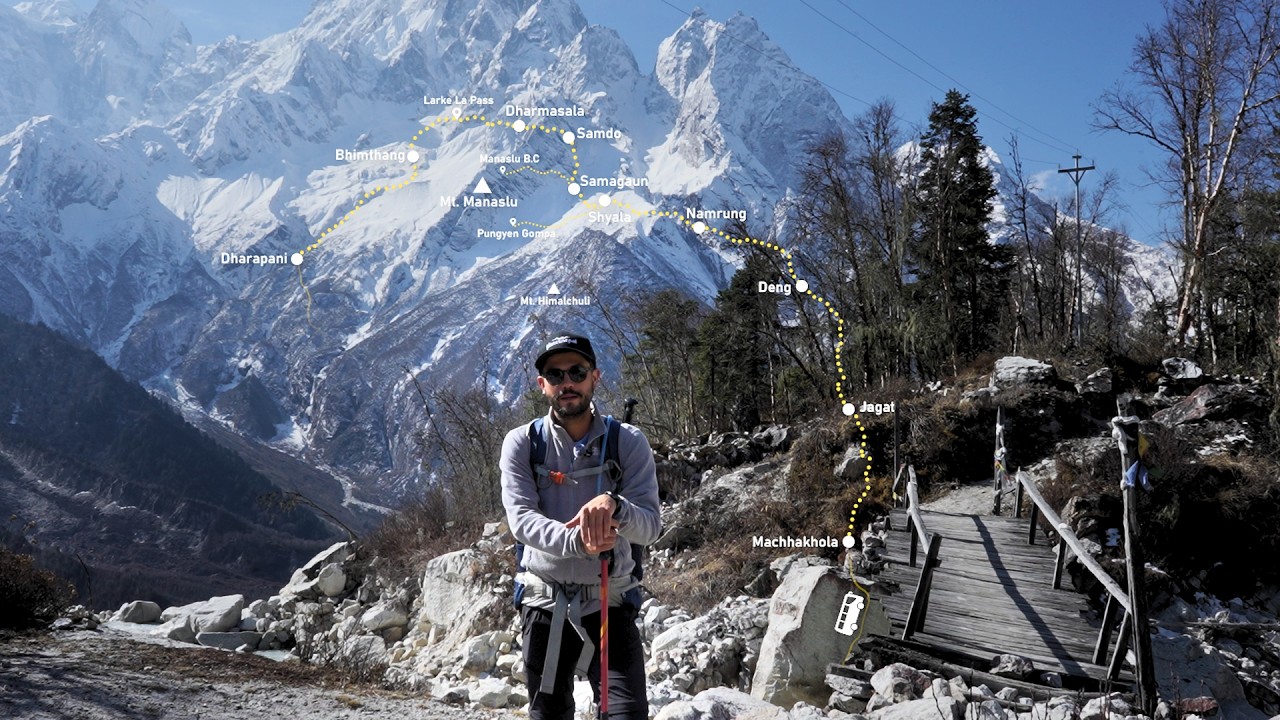
- Manaslu Circuit Trek
- Kanchenjunga Circuit Trek
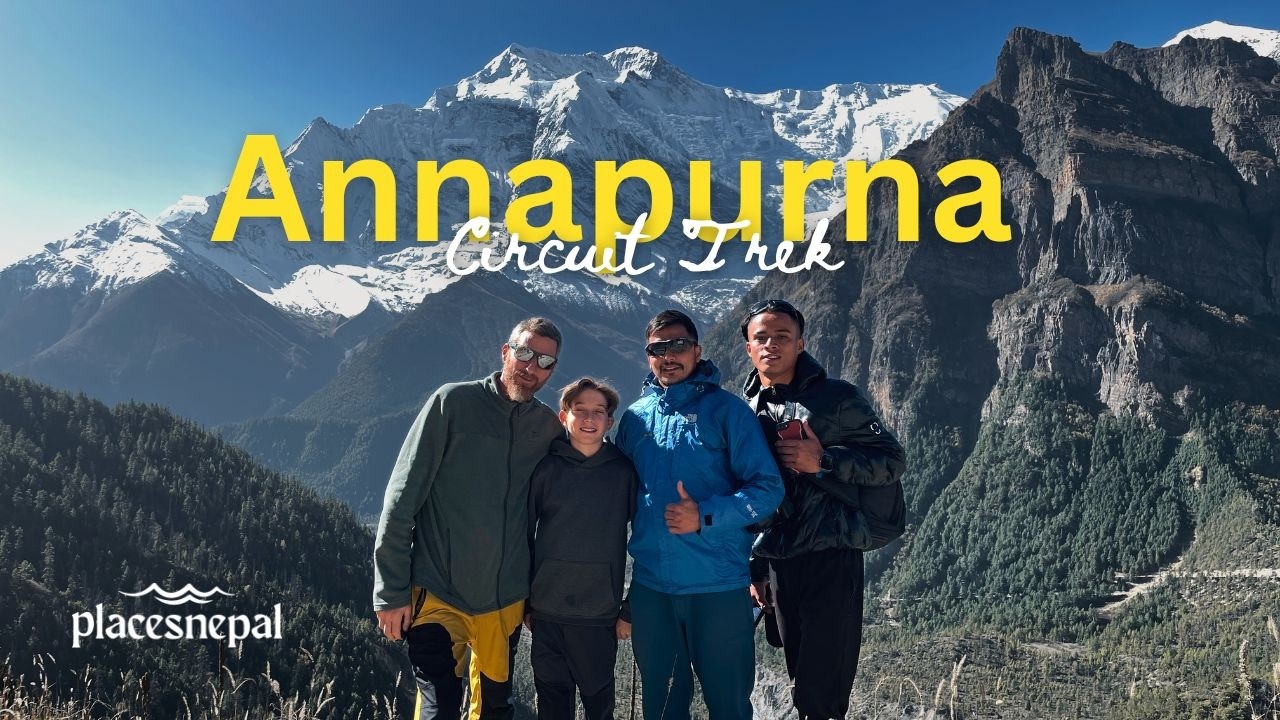
- Annapurna Circuit Trek
- Mardi Himal Trek
- Langtang Valley Trek
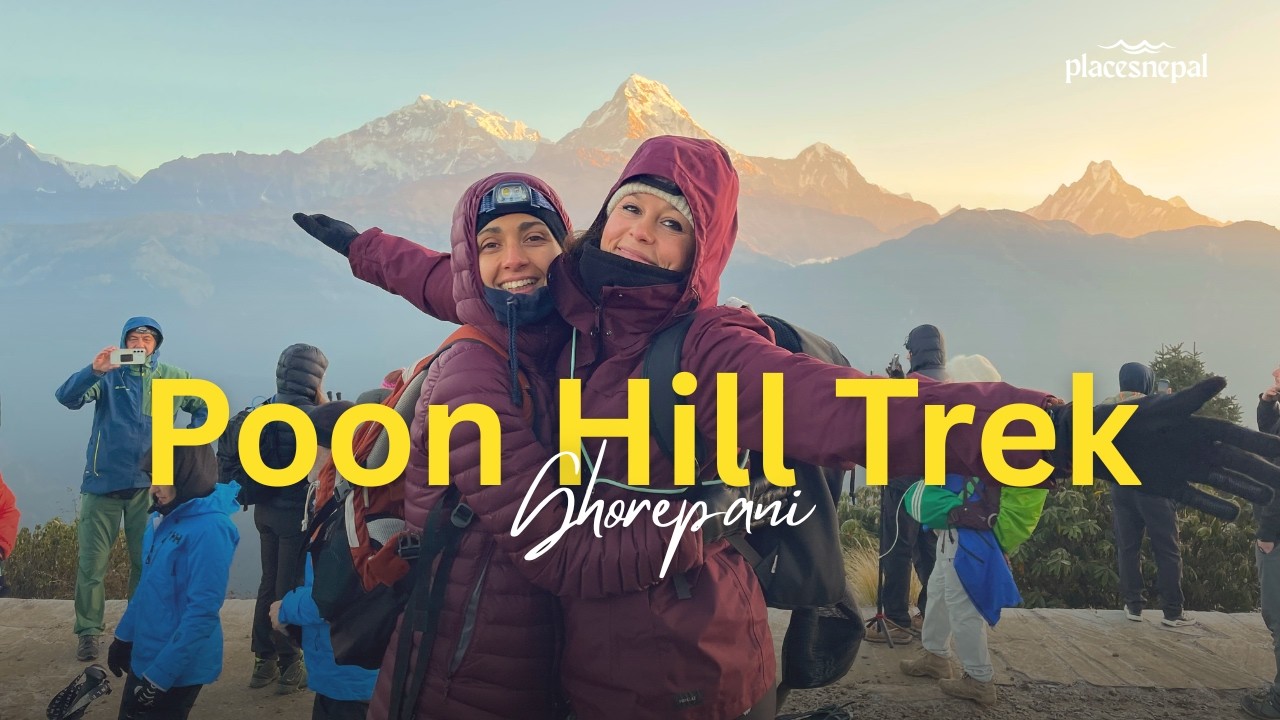
- Ghorepani Poon Hill Trek
- Annapurna Base Camp Trek
- Upper Mustang Trek
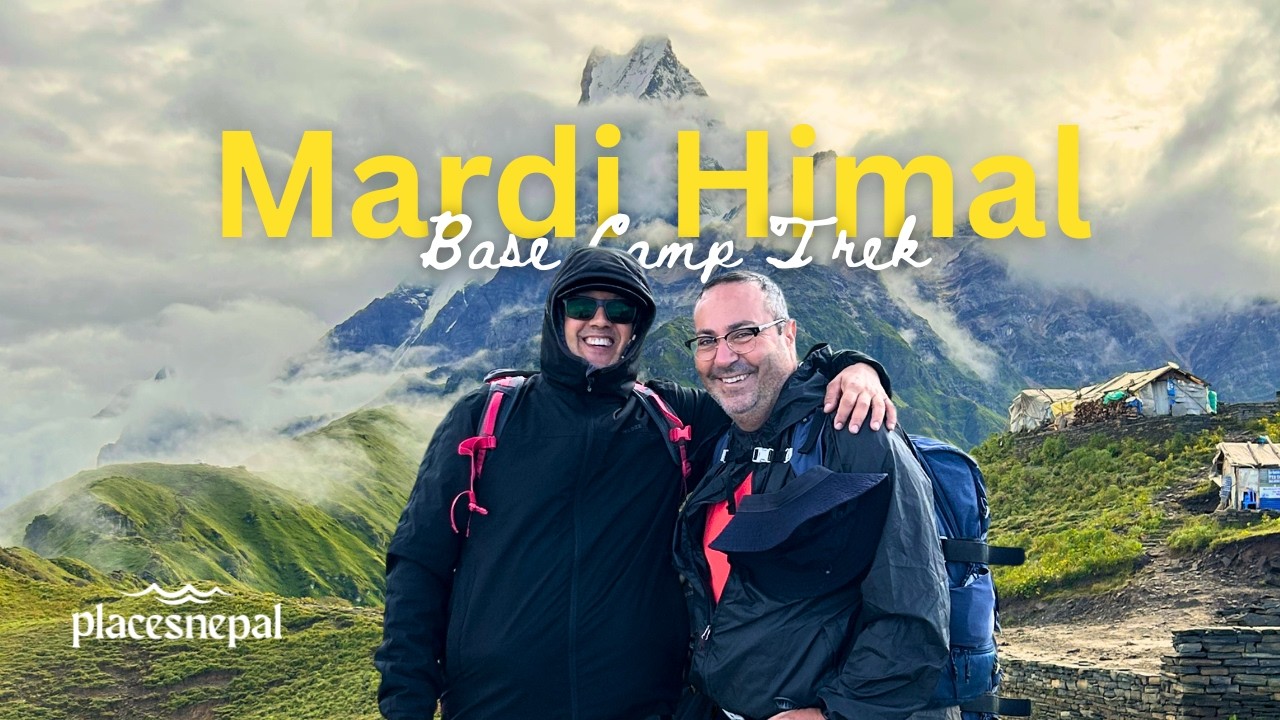
- Mardi Himal Base Camp Trek
- Shey Phoksundo Lake Trek
- Everest View Panorama Trek
- Ponker Lake Trek
- Luxury Pokhara Poon Hill Wellness Trek
- Ghorepani Poon Hill Yoga Trek
- Short Ghorepani Poon Hill Trek
- Luxury Everest Base Camp Trek with Helicopter Return
- Gokyo Lakes with Everest Base Camp Trek